


Create Your Own Holiday Pillow Cover
- Leslie Daniels
- Oct 31, 2024
- 3 min read

You are gonna love this easy DIY. Holiday pillows are in all the stores, on Amazon, at every turn starting in September these days, right? I've bought some over the years and still do depending on the design and quality. But, sometimes we just want something other than what everyone else has and perhaps a little bit more our own vibe. So, here is a quick and easy tutorial you can literally do in under two hours. When I say easy, I mean it!

These are the supplies you'll need to create your pillow cover. A cutting mat, acrylic ruler, scissors, rotary cutter, straight pins, zipper (this is optional and I will explain later), and of course, your fabrics. I chose a red and green holiday plaid and I used green felt for the tree. Thinking about it later, you could kick it up a notch and use green velvet.


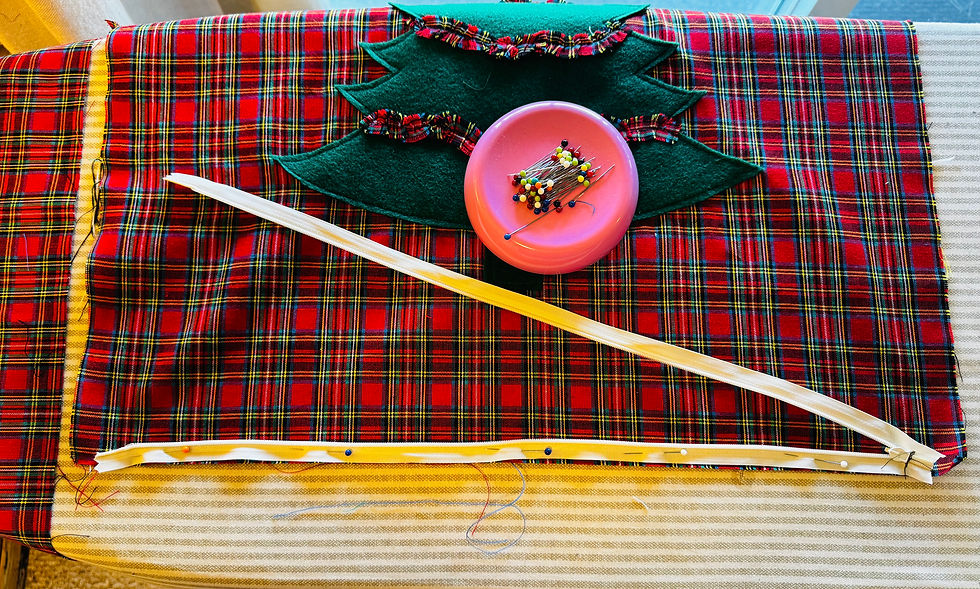
I decided to make a 20 inch pillow cover. I just noticed my numbers are upside down. Oops! Since it is plaid, I tried to match the plaid print for front and back. Using my cutting mat I cut a 21 inch square, giving me a 1/2 seam allowance all the way around the edges.


A cutting mat and acrylic ruler are so nice, as it gives you the perfect lines from which to cut. And, if you've never used a rotary cutter, you haven't lived. I remember the days of using only scissors and a measuring tape to cut things. These tools really do take the guesswork out of it. So, I recommend having these things on hand.

Next, I used brown craft paper to cut out a tree pattern and then cut my tree out of felt. So far, pretty easy stuff, huh?

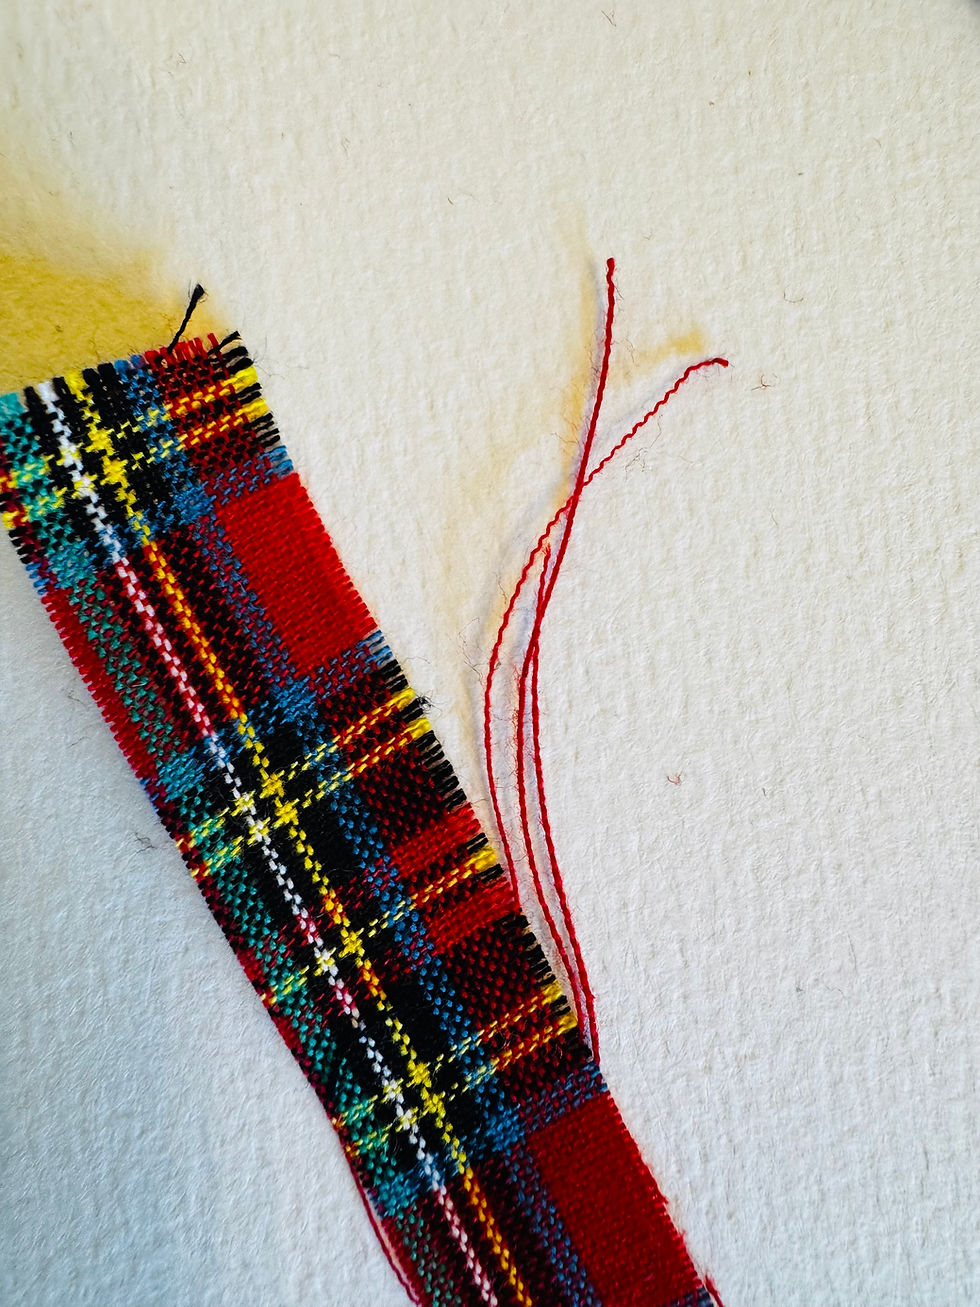
Next, I cut 1/2 inch strips from the same fabric, making sure I cut them long enough so I could bunch them up. You'll see what I mean in a minute. But before that, I pulled threads from each side of the cut strips, creating a fringe effect.

I cut three strips because I will use these as garland on our cute little felt tree.


I ran a seam down the center of each strip, using a #4 stitch length (very important), and then gently pulled the threads, creating that bunched up look I was talking about. This will be my garland on my tree.

Then I pinned each bunched up strip to the tree, adjusting the lengths based on the position on the tree as it narrows toward the top and trimmed off the ends to match the edge of the tree.

Once all the garland was sewn down, I pinned the tree to the front piece of the pillow cover, carefully centering it, and sewed it in place.

I decided to add a zipper to my pillow cover, which is completely optional. You could just as easily insert a 20 inch pillow insert or poly fiber fill and hand sew the final edge together and be done. But, I wanted to be able to take my pillow cover off and store it for next year and use my pillow insert for another pillow, but it is entirely up to you. So if you want to install a zipper, you will need to switch out your regular sewing foot to your zipper foot shown above. You can purchase an 18 inch zipper at your local Hobby Lobby or Joann Fabrics.
I pinned one side of the zipper and sewed in place first. Next, I carefully lined up the other side of the zipper and sewed it in place. More detailed instructions on how to install a zipper should come with your zipper.

Next, after snipping the corners, being careful not to snip into the seam, I pinned right sides together and stitched front to back, starting on the zipper end about 1 and 1/2 inches from end, sewing all the way around the perimeter of the pillow cover, ending on the other end of the zipper side about 1 and 1/2 inches in. I always back stitch to secure the beginning and end of my stitching.


I zip zag the edges, keeping it secure.

I also zig zag the zipper edge for good measure. Don't worry if this zig zag seam is not perfectly straight. No one will ever see it. Now all the frayed, loose thread ends are secure, keeping my seams in tact.

I hope you have enjoyed this tutorial and I look forward to seeing what you create. If you have any questions about this project, just drop me a DM. Thanks so much for stopping by and good luck with your project. xo, leslie


Comments